This is the spot for all the articles and thoughts

Creating Graphics for Social Media
“It's time to grow, either look forward to it or dread it. Your choice, your life. Make it count..” - Random Guy
Introduction:
In today's digital world, social media has become a critical component of any successful marketing strategy. It's how companies connect with their customers, promote their brand, and stand out from the competition. And one of the best ways to do that is by creating eye-catching graphics for your social media posts. But if you're new to graphic design, it can be tough to know where to start. That's why we've put together this blog post, full of tips and tricks for making awesome graphics that will help you stand out on social media. So, whether you're a social media pro or just getting started, read on to learn more!

Lets jump into making graphics! 👊
1. Determine Your Needs
The first step in creating graphics for your content is to determine your what you really need. What type of content are you creating, and what kind of graphics do you need to support it? Are you looking to create social media graphics, infographics, or illustrations? Knowing your needs will help you focus your efforts and create graphics that are effective.
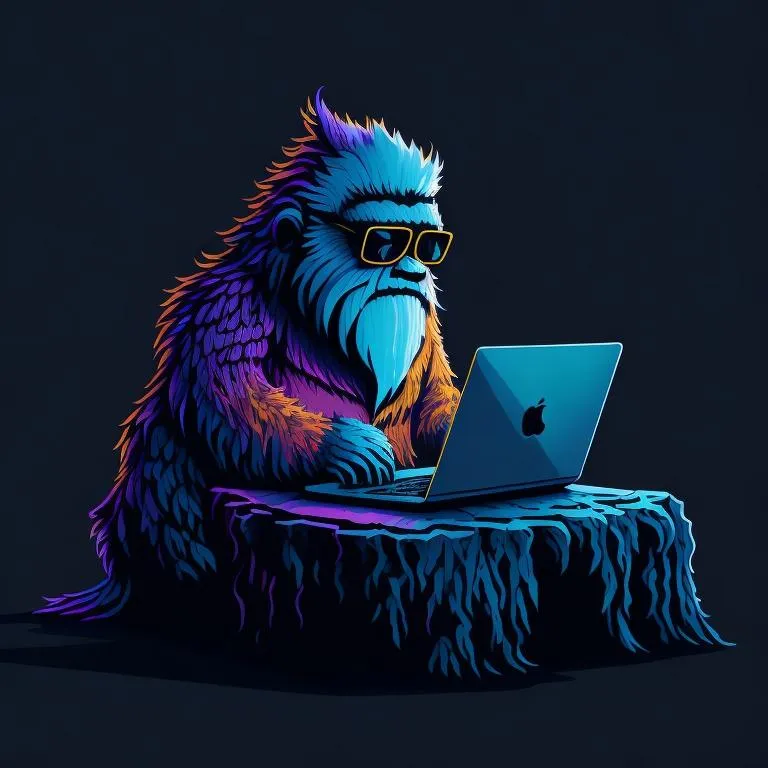
Have a end result in mind, doesn’t have to be the end product. Think about where you want to end up, what it looks like. I like to make things fun and interesting (Hey look at the pics!) but what is your goal? Understanding your audience is important too.
2. Choose Your Software
The next step is to choose your software. What vehicle are you going to use to get your vision out there? There are many tools available for creating graphics, from free options like Canva (Our favorite for most things) to more advanced programs like Adobe Photoshop and Illustrator. Choose a tool that fits your needs and budget, and take the time to learn how to use it effectively.
What are you comfortable with? Maybe you are interested in all the latest AI art generators, or maybe you can draw. Choose something that you can work with that makes sense for your audience and the platforms you are publishing/posting on.
You don’t have to be able to do everything right away, just start using some tools and give yourself room to get better.
My current favorites:
Canva - Most people can use this to great success, it is free but the paid version can be worth it for a few dollars a month if you create a lot.
Microsoft Designer - AI generated graphics, short motion graphics. Very easy to use, looks very similar to Canva... Just type in what you want to do, where it is going, and what you want it to look like and it pops out 6+ designs for you to choose from, then you can go in and edit as needed. So easy. Love it.
(Check back later for other tools)
3. Gather Your Assets
Before you start creating your graphics, gather any assets you may need, such as logos, fonts, brand colors and stock photos. This will help you create a cohesive look and feel across all your graphics and ensure that you have everything you need before you get started.
A common way of gathering them is getting everything into a folder, others use a specific form they get from a client.
4. Plan Your Design
Once you have your assets in place, it's time to plan your design. Determine the size and dimensions of your graphic, depending on the platform you are posting on, and choose a color scheme and typography that fit with your brand. Plan out the placement of your text and any images or illustrations you'll be using.
If you like, just use some scrap paper to rough draft how you are thinking of making the graphic. Once you have a general idea, start creating!
5. Create Your Graphic
With your design plan in place, it's time to start creating your graphic. Use your chosen software to bring your design to life, experimenting with different layouts and styles until you achieve the desired effect. Remember to keep your brand guidelines in mind and try to stay consistent across all your graphics.
Feel free to experiment but remember that it helps to attract your audience if you aren’t constantly changing things up. Stay true to who you are, the audience will come when they feel like you are genuine.
6. Optimize for Your Platform
Once your graphic is complete, it's important to optimize it for the platform where it will be posted. Different platforms have different requirements or specs for image size and format, so be sure to check the guidelines for each platform and adjust your graphic as needed.
It is best to start with the platform or use case in mind. There are a variety of tools online that can help you resize or adjust.
7. Test and Iterate
Finally, it's important to test your graphics and iterate based on what works and what doesn't. Try different styles, layouts, and color schemes to see what resonates with your audience, and be open to feedback and suggestions for improvement.
In all, stay true to your brand.
By following these steps, you'll be able to create effective and eye-catching graphics to support your content and enhance your brand.
The End!
Hope this has helped you in some way. Let me know on the socials if so!


